 |
||||

|
Xin Cube Home > Articles > Xin Invoice 3.0 User Guide > Inventory Database > Import Inventory
|
||
|
Getting Started Company Information Definition Add New Company Open Company Update Company Delete Company Add Company Logo Remove Company Logo Set System Data Default Document Setting Payment Terms Inventory Category Tax Reference Code Email Format Setup Email Server Personal Preference Inventory Database Definition Add new Inventory Update Inventory Delete Inventory Add Inventory Photo Remove Inventory Photo Import Inventory Export Inventory Customer Database Definition Add new Customer Update Customer Delete Customer Add Customer Photo Remove Customer Photo Import Customer Export Customer Sales Person Database Definition Add new Sales Person Update Sales Person Delete Sales Person Add Sales Person Photo Remove Sales Person Photo Add Sales Person Signature Remove Sales Person Signature Import Sales Person Export Sales Person Quotation Definition Draft Quotation Generate Quotation Update Quotation Delete Quotation Duplicate Quotation Customize Template Invoice Definition Draft Invoice Generate Invoice Update Invoice Delete Invoice Duplicate Invoice Import From Quotation Generate Delivery Note Receive Payment Recurring Invoice Customize Template Credit Note Definition Draft Credit Note Generate Credit Note Update Credit Note Delete Credit Note Duplicate Credit Note Import From Invoice Customize Template Security Set Password Data Backup |
Import InventoryIf you have too many Inventory record and it is too time consuming to create one by one into the system, you may import a list of Inventory into the database from Excel file.To be able to import the Inventory data correctly, you will need to use our Template to do the import. 1. Click on button "Import" on the top menu in Inventory Master page,. 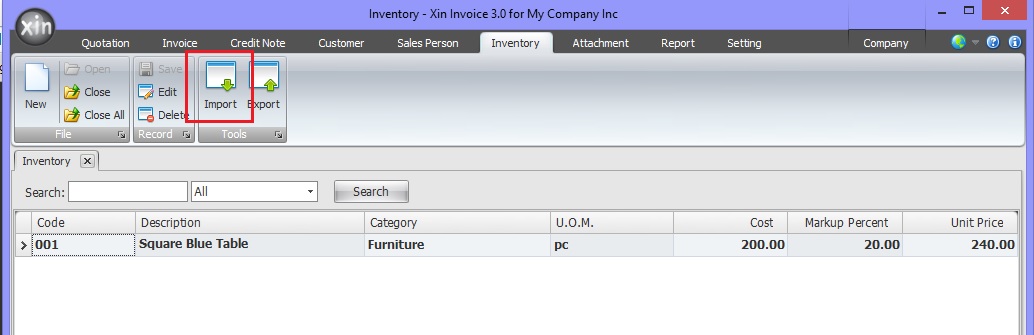 2. On the popup screen, click on "Click here to download our Excel template".  3. There are 6 columns in the Excel template: a) Inventory Name - Name or description of the inventory b) Code - Unique reference of the inventory c) Category - The Category value must be same as the Category Name set in Setting > Inventory Category. If the system could not match the data, a new Inventory Category will be created d) Unit - Unit of Measurement of the inventory e) Unit Price - Unit selling price of the inventory f) Cost - Purchase cost of the inventory 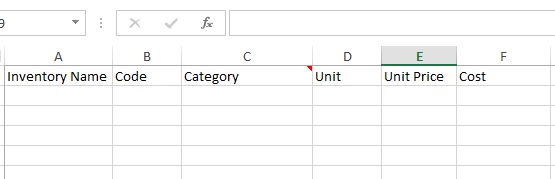 4. Create 2 Inventory item in the Excel template, save the template file. 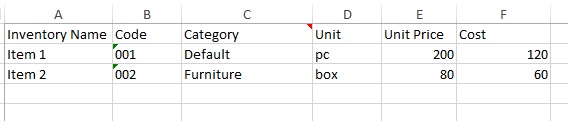 5. On the Import Inventory page, click button "Browse" and select your Excel file to be imported. 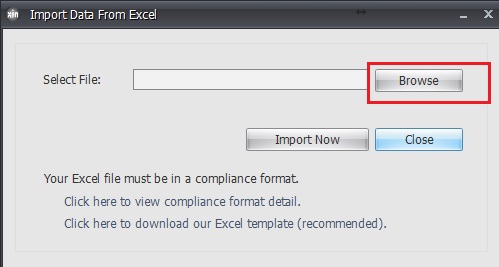 6. Then click on button "Import Now". 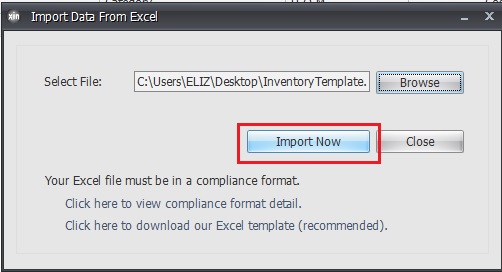 7. Once the inventory imported successfully, you will be notified. 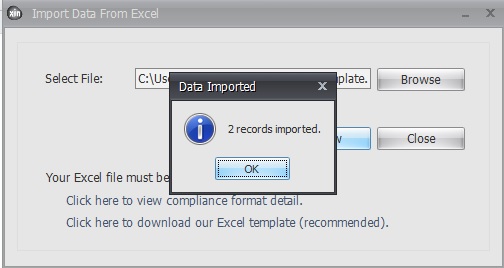 8. The imported inventory will be list on the Inventory Master. 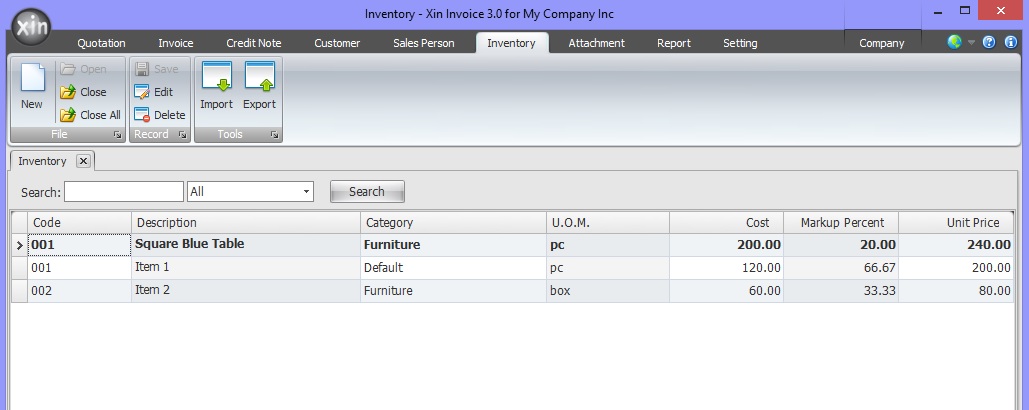 Next : Click here to learn how to export Inventory List >> |
|
| Contact Us | For all Support issues, please use our online ticketing system. | Email Us | E-mail us anytime at
and we'll help. Please give us a few business days to respond! Thanks! |
Copyright © xincube 2009 ALL RIGHTS RESERVED. www.xincube.com